 Divshot has joined Firebase!
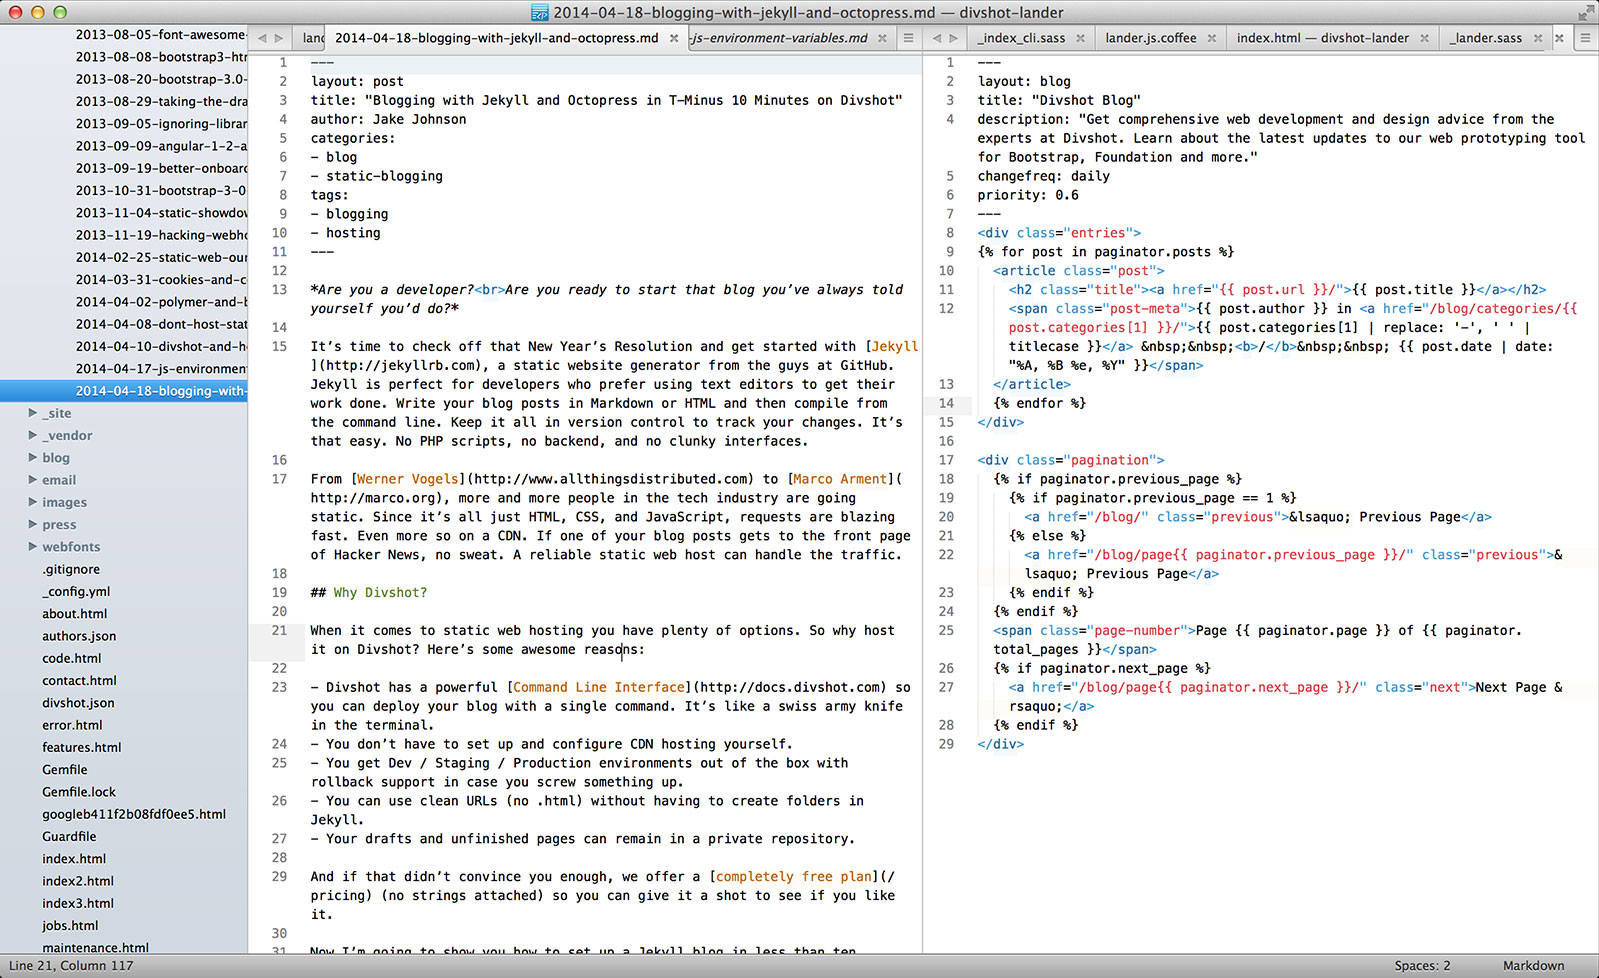
Blogging with Jekyll and Octopress in T-Minus 10 Minutes on Divshot
Are you a developer?
Are you ready to start that blog you’ve always told yourself you’d do?
It’s time to check off that New Year’s Resolution and get started with Jekyll, a static website generator from the folks at GitHub. Jekyll is perfect for developers who prefer using text editors to get their work done. Write your blog posts in Markdown or HTML and then compile from the command line. Keep it all in version control to track your changes. It’s that easy. No PHP scripts, no backend, and no clunky interfaces.
From Werner Vogels to Marco Arment, more and more people in the tech industry are going static. Since it’s all just HTML, CSS, and JavaScript, requests are blazing fast. Even more so on a CDN. If one of your blog posts gets to the front page of Hacker News, no sweat. A reliable static web host can handle the traffic.
Why Divshot?
When it comes to static web hosting you have plenty of options. So why host it on Divshot? Here’s some awesome reasons:
- Divshot has a powerful Command Line Interface so you can deploy your blog with a single command. It’s like a swiss army knife in the terminal.
- You don’t have to set up and configure CDN hosting yourself.
- You get Dev / Staging / Production environments out of the box with rollback support in case you screw something up.
- You can use clean URLs (no .html) without having to create folders in Jekyll.
- Your drafts and unfinished pages can remain in a private repository.
- You can take advantage of custom Jekyll plugins by building locally.
And if that didn’t convince you enough, we offer a completely free plan (no strings attached) so you can give it a shot to see if you like it.
Now I’m going to show you how to set up a Jekyll blog in less than ten minutes.
Getting Started
Open your terminal. You’ll need Git, Node.js, Ruby and RubyGems to get up and going. We're going to use Octopress, a framework on top of Jekyll that comes with a nice collection of themes and plugins. If you'd prefer to use vanilla Jekyll without any plugins, refer to our documentation.
git clone git://github.com/imathis/octopress.git blog
cd blog
Now install the dependencies Octopress needs to work:
gem install bundler
bundle install
Install the default Octopress theme:
rake install
Lastly, we need to set up the Divshot CLI and initialize a new Divshot app:
npm install -g divshot-cli
divshot init
When asked, supply public as the project's app directory.
Configuration
Jekyll and Octopress both have a list of options you can tweak for your static blog. Open up _config.yml and refer to Configuring Octopress and Jekyll Configuration for a full list of options.
At a minimum, you’ll want to set url, title, subtitle, and author. I’d also set up Disqus and Google Analytics to get it out of the way.
While we’re in _config.yml, let’s add divshot.json to our exclude list so it doesn’t get compiled. This can go underneath the Jekyll & Plugins section:
exclude:
  - divshot.json
Still following along? Here's what your _config.yml might look like:
# ----------------------- #
#      Main Configs       #
# ----------------------- #

url: http://your-app-name.divshot.io
title: My Octopress Blog
subtitle: A blogging framework for hackers.
author: Your Name
simple_search: https://www.google.com/search
description: This blog was built with Octopress/Jekyll and hosted on Divshot!

# Default date format is "ordinal" (resulting in "July 22nd 2007")
# You can customize the format as defined in
# http://www.ruby-doc.org/core-1.9.2/Time.html#method-i-strftime
# Additionally, %o will give you the ordinal representation of the day
date_format: "ordinal"

# RSS / Email (optional) subscription links (change if using something like Feedburner)
subscribe_rss: /atom.xml
subscribe_email:
# RSS feeds can list your email address if you like
email:

# ----------------------- #
#    Jekyll & Plugins     #
# ----------------------- #

# If publishing to a subdirectory as in http://site.com/project set 'root: /project'
root: /
permalink: /blog/:year/:month/:day/:title/
source: source
destination: public
plugins: plugins
code_dir: downloads/code
category_dir: blog/categories
markdown: rdiscount
rdiscount:
  extensions:
    - autolink
    - footnotes
    - smart
pygments: false # default python pygments have been replaced by pygments.rb
exclude:
  - divshot.json

paginate: 10          # Posts per page on the blog index
pagination_dir: blog  # Directory base for pagination URLs eg. /blog/page/2/
recent_posts: 5       # Posts in the sidebar Recent Posts section
excerpt_link: "Read on →"  # "Continue reading" link text at the bottom of excerpted articles

titlecase: true       # Converts page and post titles to titlecase

# list each of the sidebar modules you want to include, in the order you want them to appear.
# To add custom asides, create files in /source/_includes/custom/asides/ and add them to the list like 'custom/asides/custom_aside_name.html'
default_asides: [asides/recent_posts.html, asides/github.html, asides/delicious.html, asides/pinboard.html, asides/googleplus.html]

# Each layout uses the default asides, but they can have their own asides instead. Simply uncomment the lines below
# and add an array with the asides you want to use.
# blog_index_asides:
# post_asides:
# page_asides:

# ----------------------- #
#   3rd Party Settings    #
# ----------------------- #

# Github repositories
github_user:
github_repo_count: 0
github_show_profile_link: true
github_skip_forks: true

# Twitter
twitter_user:
twitter_tweet_button: true

# Google +1
google_plus_one: false
google_plus_one_size: medium

# Google Plus Profile
# Hidden: No visible button, just add author information to search results
googleplus_user:
googleplus_hidden: false

# Pinboard
pinboard_user:
pinboard_count: 3

# Delicious
delicious_user:
delicious_count: 3

# Disqus Comments
disqus_short_name:
disqus_show_comment_count: false

# Google Analytics
google_analytics_tracking_id:

# Facebook Like
facebook_like: false
Write Your First Post
Octopress comes with some convenient Rake tasks we can use to quickly write a new blog post. If you'd like, you can also create a Markdown file in the source/_posts directory. Just make sure you follow a format similar to YYYY-MM-DD-post-title.md.
To create a new post, use the following task:
rake new_post["My Very First Blog Post"]
This will generate a Markdown file in source/_posts. Open the file in a text editor and get to work! You'll notice a YAML front matter block at the very top. This allows you to fine-tune settings specifically for the blog post:
---
layout: post
title: "My Very First Blog Post"
date: 2014-04-18 13:19:07 -0700
comments: true
categories:
- Jekyll
- Octopress
- Divshot
---

My blog post in Markdown. [Click here](http://daringfireball.net/projects/markdown/syntax) to learn more about Markdown syntax.
Testing Locally
To simply compile your post into the /public directory, run the rake generate task. When you're writing and testing simultaneously, you'll want to run rake watch with a local Divshot server. Since you already have the Divshot CLI installed, you're good to go:
rake watch & divshot server
This command will watch the /source and /sass directories for changes, recompile, and then serve up your static blog at http://localhost:3474:
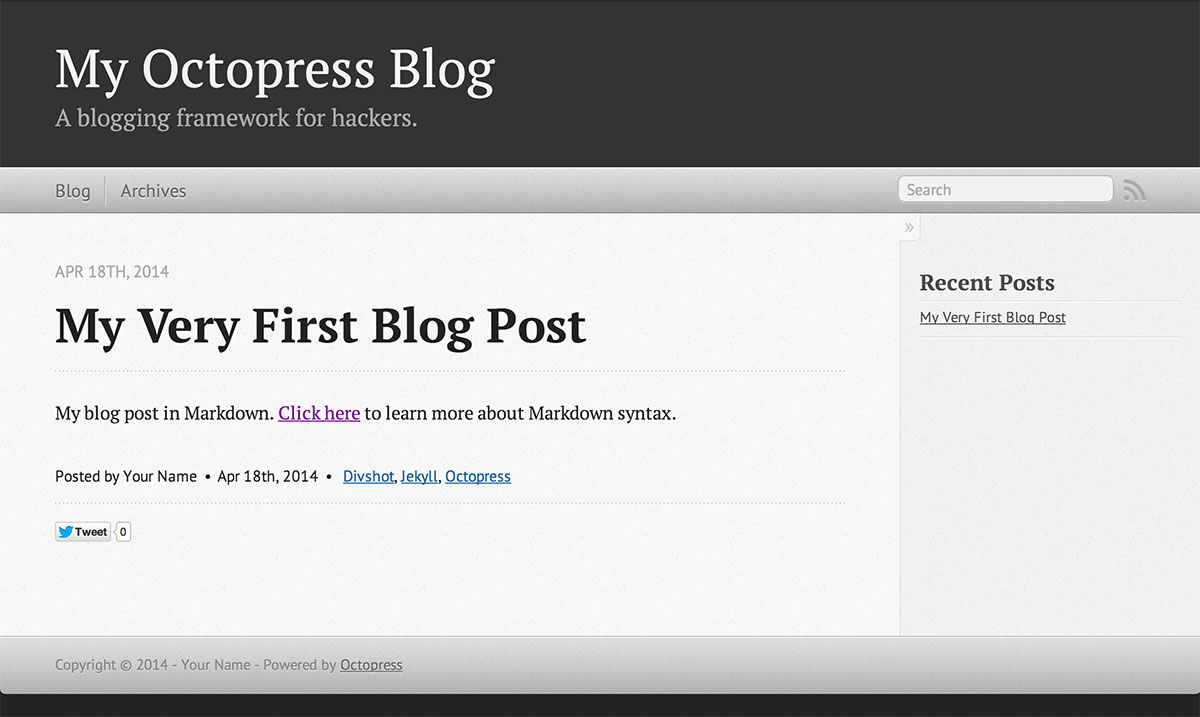
Deploy to Divshot
Let's get your blog up and running on Divshot. Since you already initialized a new app and presumably your divshot.json file is configured correctly, you'll only need one line to deploy:
rake generate && divshot push
This will compile your project and deploy it to the Development environment on Divshot.io. You can access your blog at http://development.your-app-name.divshot.io. Once you're ready to go live on production, do this:
rake generate && divshot push production
Wrapping Up
Go check out your blog in action at http://your-app-name.divshot.io. Click here to learn how to set up a custom domain.
This was a basic introduction to getting started with Jekyll and Octopress. If you'd like to learn about advanced Jekyll plugins and features, check out another one of my posts.
