 Divshot has joined Firebase!
Building a Q&A System with Polymer and Firebase
Here at Divshot we’re huge fans of Polymer and everything Google is doing to move Web Components forward. In fact, we believe it’ll be the dominant way to build web apps in the near future. With Google’s recent acquisition of Firebase, I thought it’d be fitting to introduce you to both Polymer and Firebase if you haven’t already taken the plunge. Sometimes it’s difficult to put all of the pieces of the puzzle together until you have a complete view of how an app is built from start to finish in a new framework.
We’re going to build a Q&A system from scratch starting off with setting up your project using Yeoman and outlining the structure. Along the way we’ll talk about custom elements, material design, routing, authentication, security rules, and record priority. Users will be able to write questions, answers, and comments. Both questions and answers can be upvoted. Using security rules, we’ll make sure that users can only manage their own content within Firebase.
This is an ambitious blog post with a lot of code. If you find an error or aren’t sure how to continue, leave a comment in the post and I’ll make improvements. Walking through this entire series (in progress) could take an hour or two, but by the end you’ll have a thorough understanding of how to build a basic Polymer app.
- 'Allo 'Allo, Yeoman!
- Project Structure
- Element Zero
- App Layout
- Authentication
- Routing
- Questions
- Answers
For your convenience, the final project is open source and available on GitHub:
There's also a video walking through most of this content from Web Components LA:
'Allo 'Allo, Yeoman!
Yeoman gets you up and going quickly with Polymer by generating an app scaffold. It comes baked with a few extra goodies for creating Polymer elements and support for SASS/SCSS. The team behind Polymer itself actively contributes to the Yeoman generator, so it’s generally assumed to be the most up-to-date way to structure a new Polymer app. To get started, install the generator:
npm install -g generator-polymer
If you haven’t already, create a new app directory and cd into it. Scaffold a new Polymer project:
yo polymer
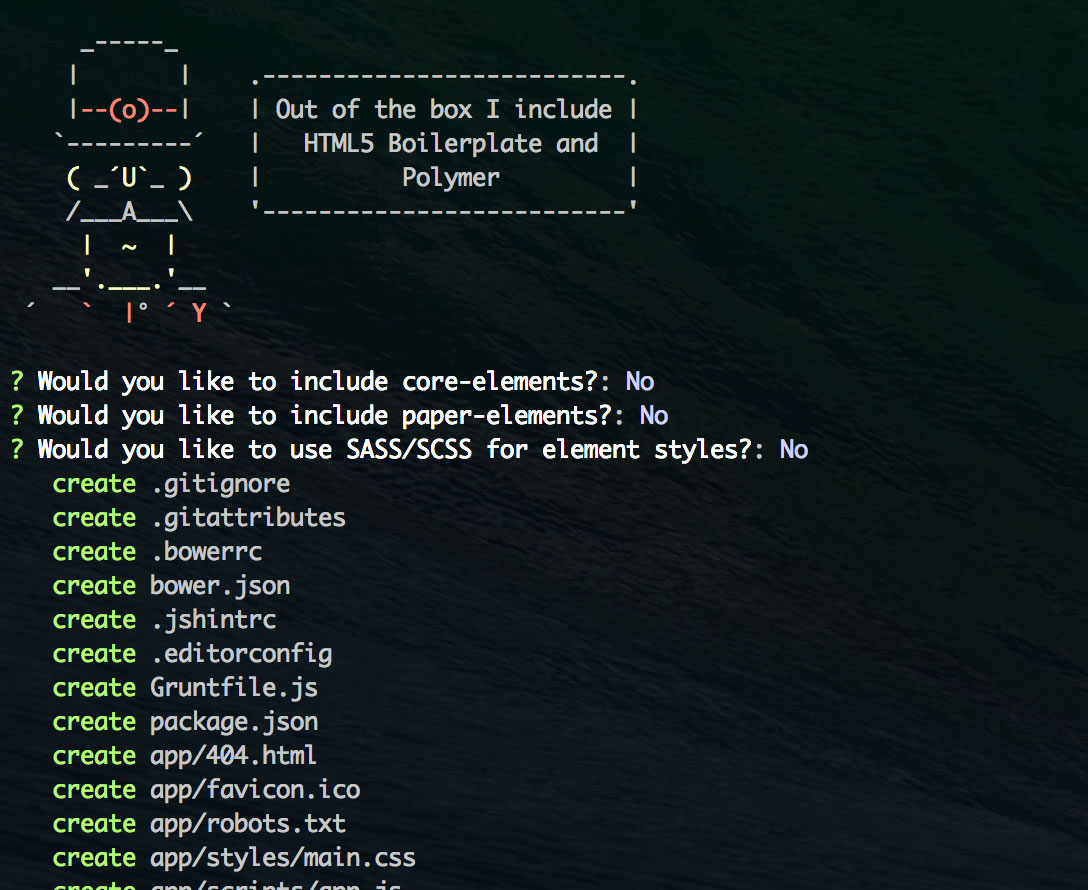
Yeoman will ask you several questions. Type N for each. We’ll install the core and paper elements ourselves to get a feel for adding custom elements. Take your app for a test drive:
grunt serve
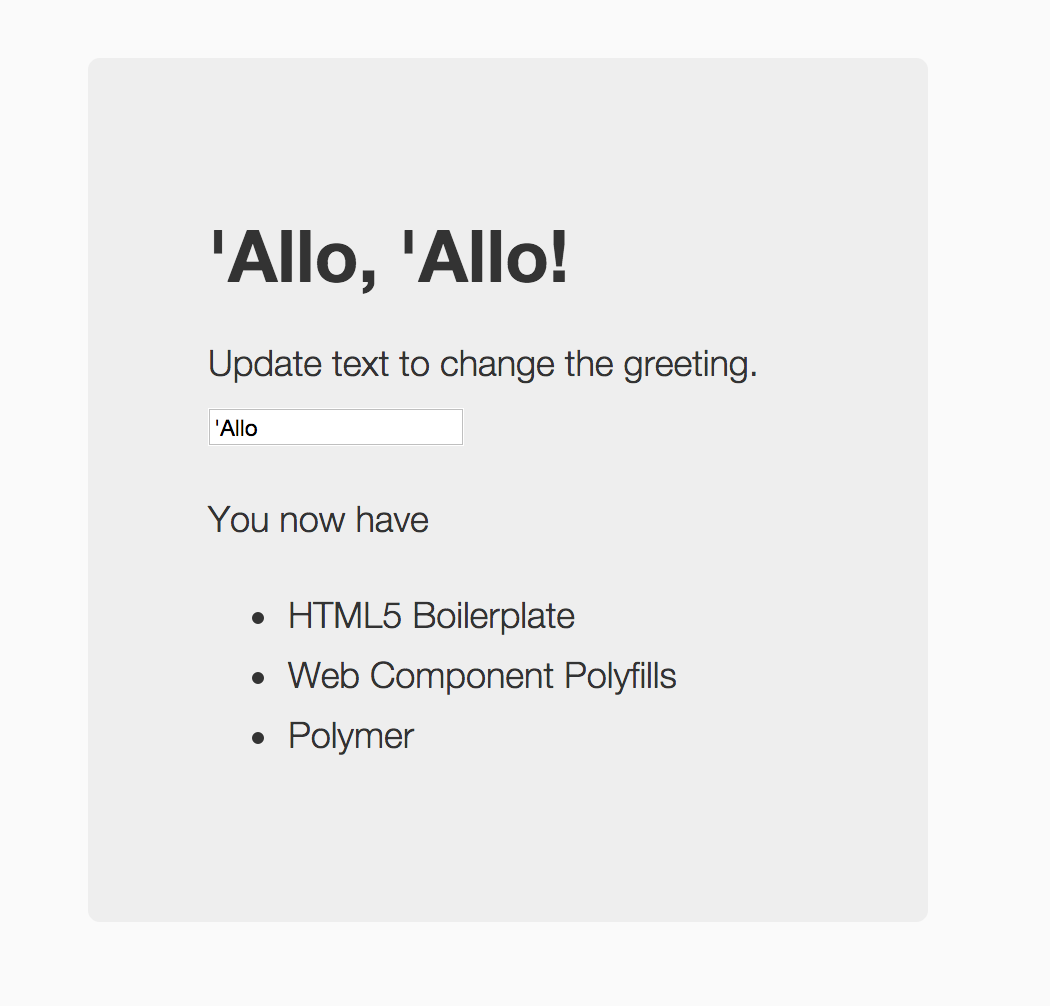
Your app will be opened in a new browser. When you make changes in your text editor, the app will refresh automatically.
Project Structure
When you open your app in a text editor for the first time, you’ll notice 4 directories:
- .tmp: Auto-generated files while using the local server for watching.
- app: Codebase of your app where custom elements, media, scripts, and stylesheets reside.
- dist: Build directory for release and uploading to a server, such as Divshot. Generated via
grunt build. - node_modules: Node modules, primarily for building your app using Grunt and running locally with Connect.
The app directory is where you’ll spend most of your time working. Inside everything is fairly straightforward:
- bower_components
- elements
- images
- scripts
- styles
- test
- index.html
Bower is used for importing web components by the Polymer team as well as third-party elements that you can find from sites such as Custom Elements. The /elements directory is where your own custom elements will go.
Clean Up
Remove the default elements from /app/elements. We won’t need them for this app. Delete elements.html as well.
Edit index.html:
- Remove
<link rel="import href="elements/elements.html"> - Remove the
.hero-unitdiv inside<body>
Since we're going to use Polymer 0.5.0 (the latest and greatest), we'll also want to make sure we're using webcomponents.js instead of platform.js. Replace the following line:
<script src="bower_components/platform/platform.js"></script>
with this:
<script src="bower_components/webcomponentsjs/webcomponents.js"></script>
While we're at it, let's add the Roboto Draft font right above </head>:
<link rel="stylesheet" href="//fonts.googleapis.com/css?family=RobotoDraft:300,400,500">
Lastly, clean up /styles/main.css and update the body font-family. Replace the entire stylesheet with this CSS:
body {
  background: #fafafa;
  font-family: RobotoDraft, "Helvetica Neue", Helvetica, Arial;
  color: #333;
}
Your app should now be a blank screen. It’s time to start coding in Polymer!
Element Zero
Your first element is going to be a container for the app. This container will handle:
- App Layout (Header, Content, Footer)
- Authentication
- Routing
- Initializing Globals
Create a new file called app.html inside /elements and use the following template:
<link rel="import" href="/bower_components/polymer/polymer.html">

<polymer-element name="qa-app">
  <template>
    <style>
      :host {
        display: block;
      }
    </style>
  </template>
  <script>
    (function () {
      'use strict';

      Polymer({
        // define element prototype here
      });

    })();
  </script>
</polymer-element>
In this code we’re importing Polymer and creating a new element called <qa-app>. Go back to index.html.
Import app.html inside build:vulcanized:
<!-- build:vulcanized elements/elements.vulcanized.html -->
<link rel="import" href="elements/app.html">
<!-- endbuild-->
Finally, add <qa-app> inside <body> and use the fullbleed attribute to remove the body margin:
<body fullbleed unresolved>
  <qa-app></qa-app>
You now have a basic container for your app. Next we'll prototype a basic UI with material design.
App Layout
Before we can start logging in users and displaying questions, we need an interface with a menu bar. We’re going to include Polymer's core and paper elements to make that happen using Bower. Run the following code in your terminal:
bower install Polymer/core-elements --save
bower install Polymer/paper-elements --save
The --save flag automatically adds the dependency to your bower.json file. It’s a useful timesaver.
Go back to app.html and import these elements:
<link rel="import" href="/bower_components/core-header-panel/core-header-panel.html">
<link rel="import" href="/bower_components/core-toolbar/core-toolbar.html">
<link rel="import" href="/bower_components/core-icons/social-icons.html">
<link rel="import" href="/bower_components/core-menu/core-menu.html">
<link rel="import" href="/bower_components/paper-dropdown/paper-dropdown.html">
<link rel="import" href="/bower_components/paper-icon-button/paper-icon-button.html">
<link rel="import" href="/bower_components/paper-menu-button/paper-menu-button.html">
<link rel="import" href="/bower_components/paper-item/paper-item.html">
Now create a new <core-header-panel> with the following HTML inside the <template> tag under </style>:
<core-header-panel>
<div class="core-header">
<core-toolbar>
<div flex>Firebase Q&A</div>
<paper-menu-button halign="right">
<paper-icon-button icon="social:person"></paper-icon-button>
<paper-dropdown class="dropdown" transition="">
<core-menu class="menu">
<paper-item on-click="{{login}}" hidden?="{{!statusKnown || user}}">Login</paper-item>
<paper-item on-click="{{logout}}" hidden?="{{!statusKnown || !user}}">Logout</paper-item>
</core-menu>
</paper-dropdown>
</paper-menu-button>
</core-toolbar>
</div>
<div class="content">
</div>
</core-header-panel>
The core-header-panel element allows us to create a fixed menu bar with a scrollable container. We use core-toolbar with paper-menu-button to create a user account menu in the top right.
Before we move on, let's improve the color scheme and make some style tweaks. Inside the <style> tag, add the following CSS:
:host {
  display: block;
  font-family: RobotoDraft, "Helvetica Neue", Helvetica, Arial;
  height: 100%;
}

core-header-panel {
  height: 100%;
}

core-header-panel::shadow #mainContainer {
  background: #f5f5f5;
}

core-toolbar {
  background: none;
}

.core-header {
  height: 60px;
  line-height: 60px;
  font-size: 18px;
  padding: 0 10px;
  background-color: #3F51B5;
  color: #fff;
  transition: height 0.2s;
}

.core-header paper-item {
  color: #333;
}

.core-header paper-menu-button {
  height: 40px;
}

.content {
  background: #fff;
}
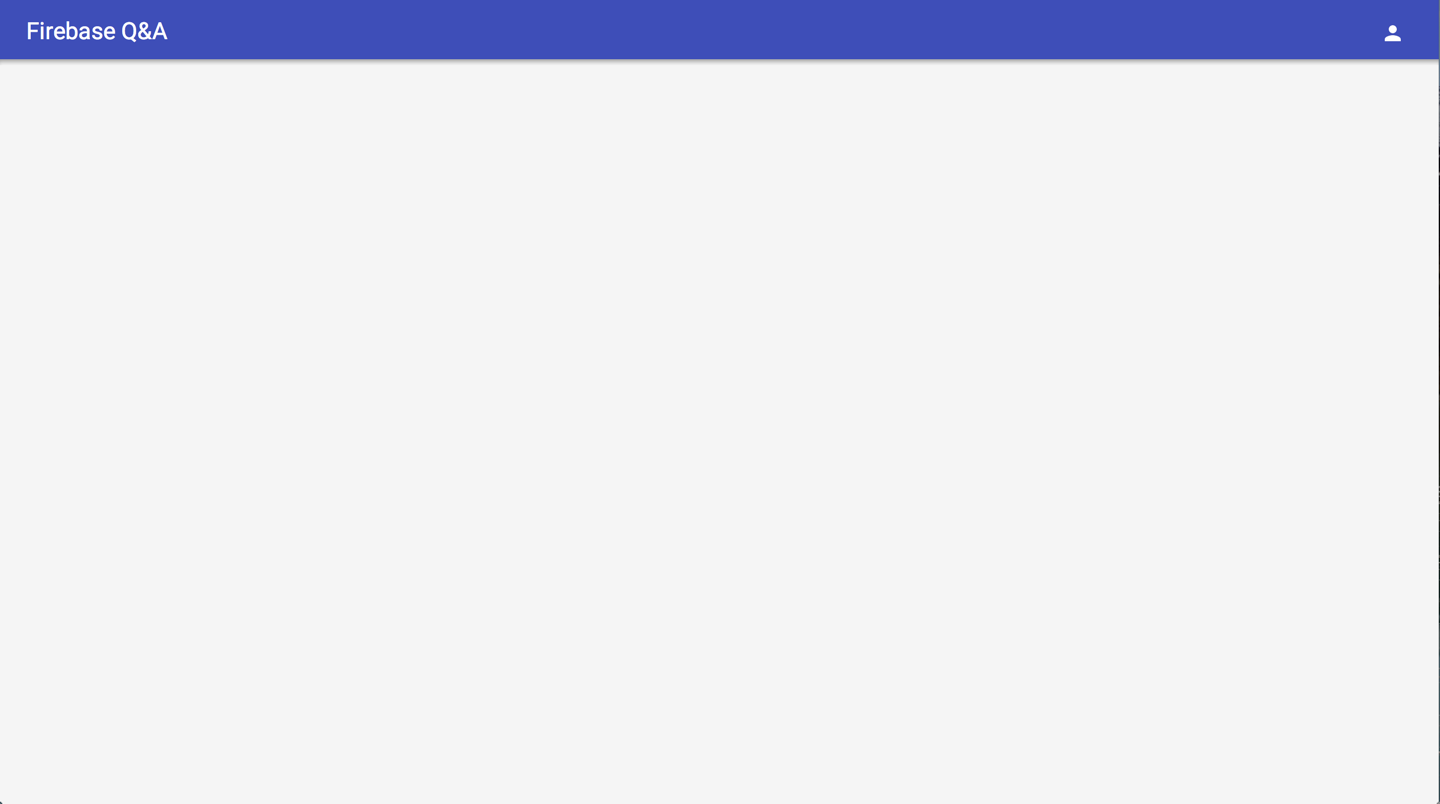
The ::shadow pseudo-element is used to pierce into the shadow DOM of core-header-panel so we can change the background of the main container.
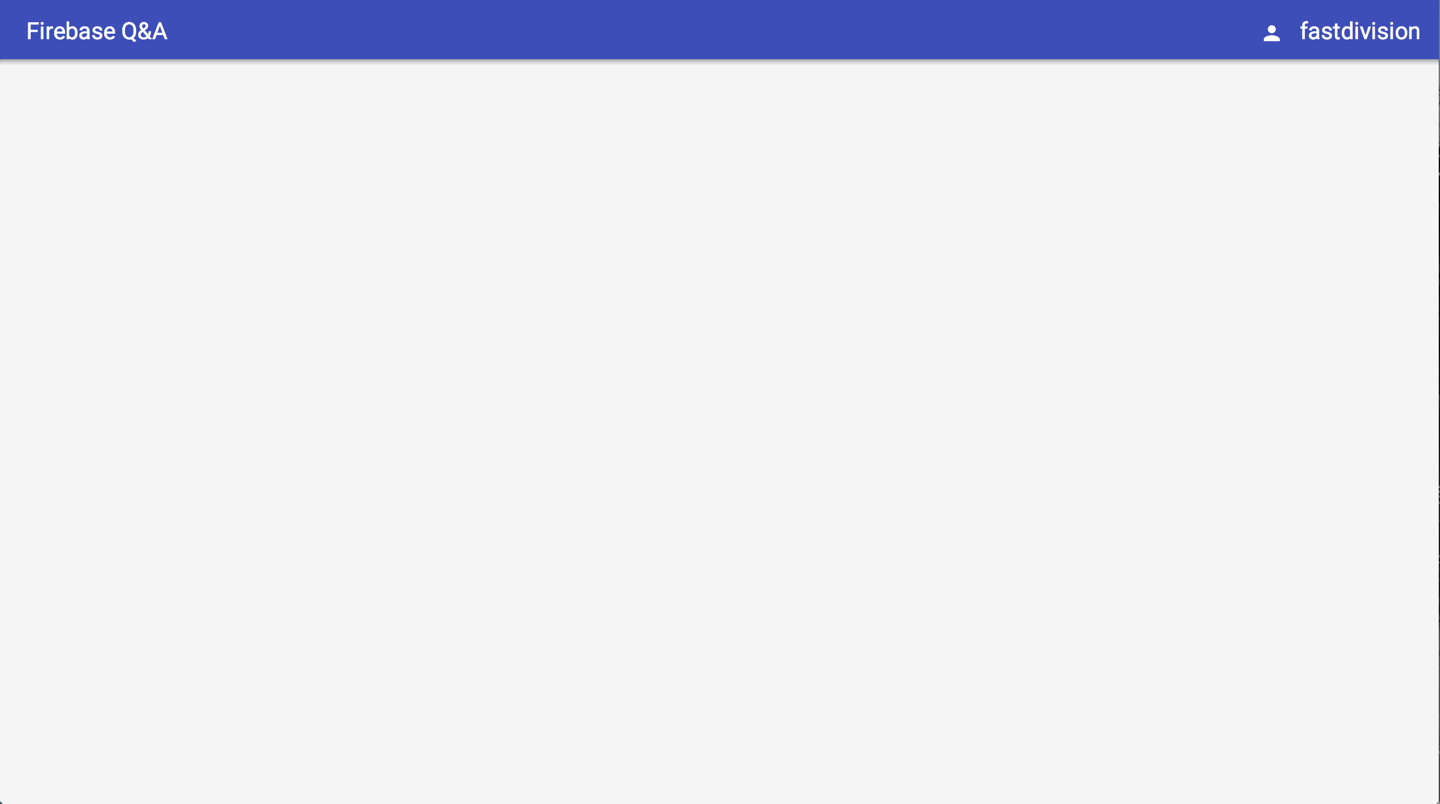
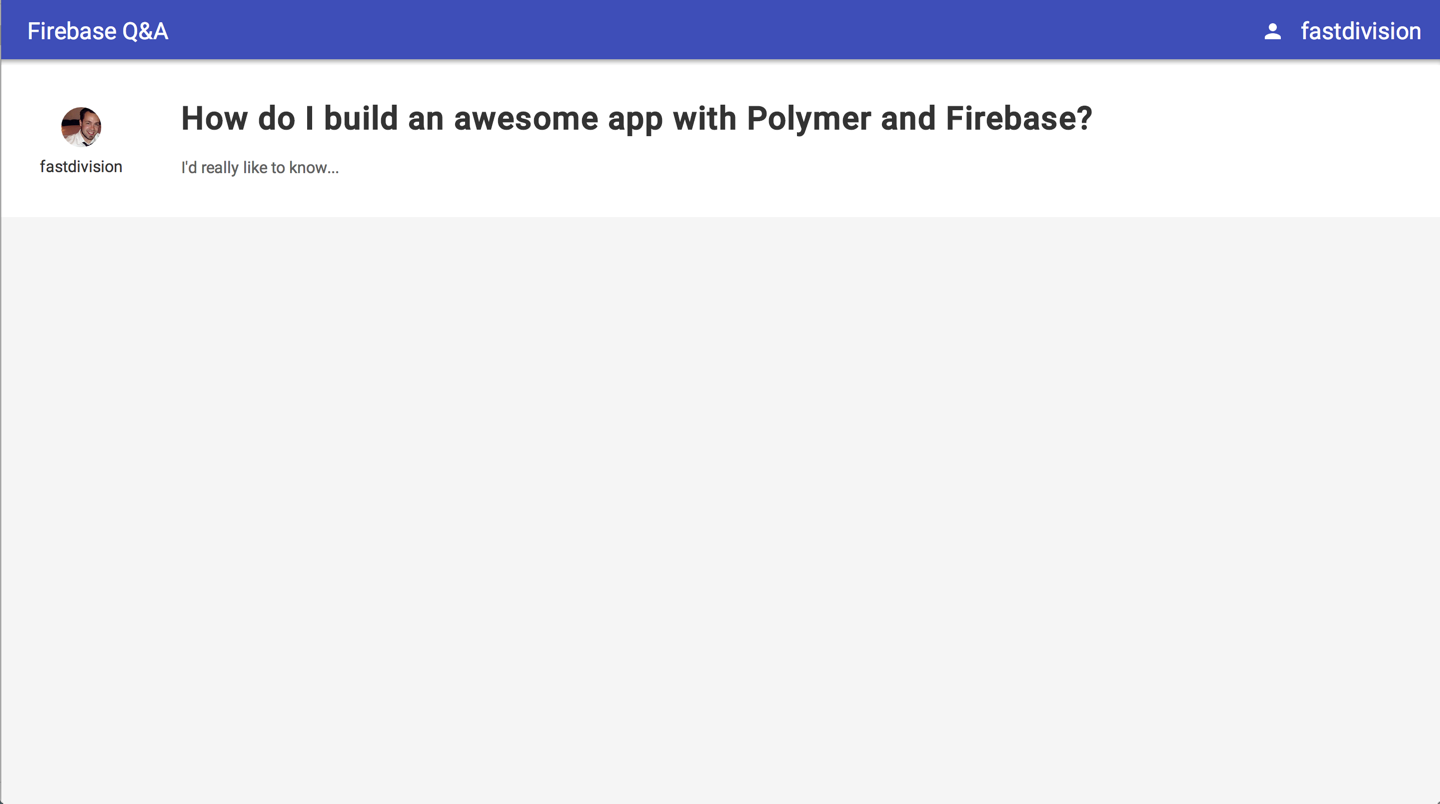
Your app should now look something like this:
Authentication
Authenticating users with Firebase is simple. For this app we're going to use GitHub for authentication. If you haven't already, sign up for a new account at Firebase and create a new app. Refer to the GitHub Authentication Guide to configure your application for GitHub auth.
After you created your GitHub application and set the authorization callback URL in Firebase, we'll jump back into creating our app. We'll be using the <firebase-login> element to log in users. First we need to install firebase-element using Bower:
bower install Polymer/firebase-element --save
Import firebase-element and firebase-login in app.html:
<link rel="import" href="/bower_components/firebase-element/firebase-element.html">
<link rel="import" href="/bower_components/firebase-element/firebase-login.html">
Add the firebase-login element inside <template>:
<firebase-login id="baseLogin" user="{{user}}" statusKnown="{{statusKnown}}" location="https://<your-firebase>.firebaseio.com" provider="github" on-login="{{onLogin}}" on-error="{{onLoginError}}"></firebase-login>
- user: When logged in, this property reflects the Firebase user object.
- statusKnown: When true, login status can be determined by checking
userproperty. - location: Firebase location URL (must have simple login enabled via Forge interface).
- provider: Default simple login provider type. May be overridden at
login()-time. - on-login: Fired when user is logged in.
- on-error: Fired when an error occurred logging in.
For a complete rundown of firebase-login attributes and events, read the documentation.
To see if things are working correctly, we’re going to add on-click handler attributes to our login and logout links in the menu bar:
<paper-item on-click="{{login}}" hidden?="{{!statusKnown || user}}">Login</paper-item>
<paper-item on-click="{{logout}}" hidden?="{{!statusKnown || !user}}">Logout</paper-item>
Next, set up those methods inside the <script> tag:
Polymer(
  login: function() {
    this.$.baseLogin.login();
  },
  logout: function() {
    this.$.baseLogin.logout();
  }
this.$.baseLogin allows us to access <firebase-login id="baseLogin"> in our encapsulated template DOM. Using Polymer’s built-in data binding, let’s display the user’s username if logged in after the <paper-menu-button>:
<template if="{{user}}">{{user.github.username}}</template>
You should now be able to log in and out of your app if everything was configured properly in Firebase.
Handling on-login and on-error
We’re going to write two additional methods inside <script> to handle the login and error events. In our login event, we’re going to make the user object global so we can access it in our other elements. Error will simply report to console.
For global variables we’re going to use a Divshot element called pvc-globals. There’s many ways to share data across Polymer elements. Since we need the user’s data almost everywhere, we’re going to use a global.
Install pvc-globals using Bower:
bower install Divshot/pvc-globals --save
Import the pvc-globals element inside app.html:
<link rel="import" href="/bower_components/pvc-globals/pvc-globals.html">
Add the element to <template> underneath <firebase-login>:
<pvc-globals values="{{globals}}"></pvc-globals>
The values attribute is an object containing the set globals for the current namespace. You can bind to this.
Now let’s write our on-login and on-error functions:
onLogin: function() {
  this.globals.currentUser = this.user;
},
onLoginError: function(err) {
  console.log('An error occurred.');
}
In the onLogin method we set a global variable called currentUser so we can access it across the entire app later.
Routing
To browse questions and read them individually we’re going to create a couple routes using app-router. Each route will have its own element where the template itself is the view. Install app-router with Bower:
bower install app-router --save
Import the app-router element inside app.html:
<link rel="import" href="/bower_components/app-router/app-router.html">
Add the element to <template> inside the .content container <div>:
<div class="content">
  <app-router>
    <app-route path="/" import="/elements/questions/list.html" element="qa-list"></app-route>
    <app-route path="/questions/:id" import="/elements/questions/view.html" element="qa-view"></app-route>
  </app-router>
</div>
Now we need to create the views for those routes using custom elements. This is where we begin building out the functionality for questions and answers.
Questions
Create a new subdirectory inside /elements called questions. Add list.html and view.html for the routes.
Inside list.html, define a new element called qa-list:
<link rel="import" href="/bower_components/firebase-element/firebase-element.html">
<link rel="import" href="/bower_components/pvc-globals/pvc-globals.html">

<polymer-element name="qa-list">
  <template>
    <style>
      :host {
        display: block;
      }
    </style>
    <pvc-globals values="{{globals}}"></pvc-globals>
  </template>
  <script>
    (function () {
      'use strict';

      Polymer({
        // define element prototype here
      });

    })();
  </script>
</polymer-element>
We imported firebase-element. Add the <firebase-element> tag to the <template> below <style>:
<firebase-element id="base" location="https://<your-firebase>.firebaseio.com/questions" data="{{questions}}" keys="{{keys}}"></firebase-element>
- location: Firebase location mapped to
data. - data: The
dataobject mapped to location. - keys: All keys in data (array of names, if you think of data as a set of name/value pairs).
For a full list of attributes and events, read the documentation.
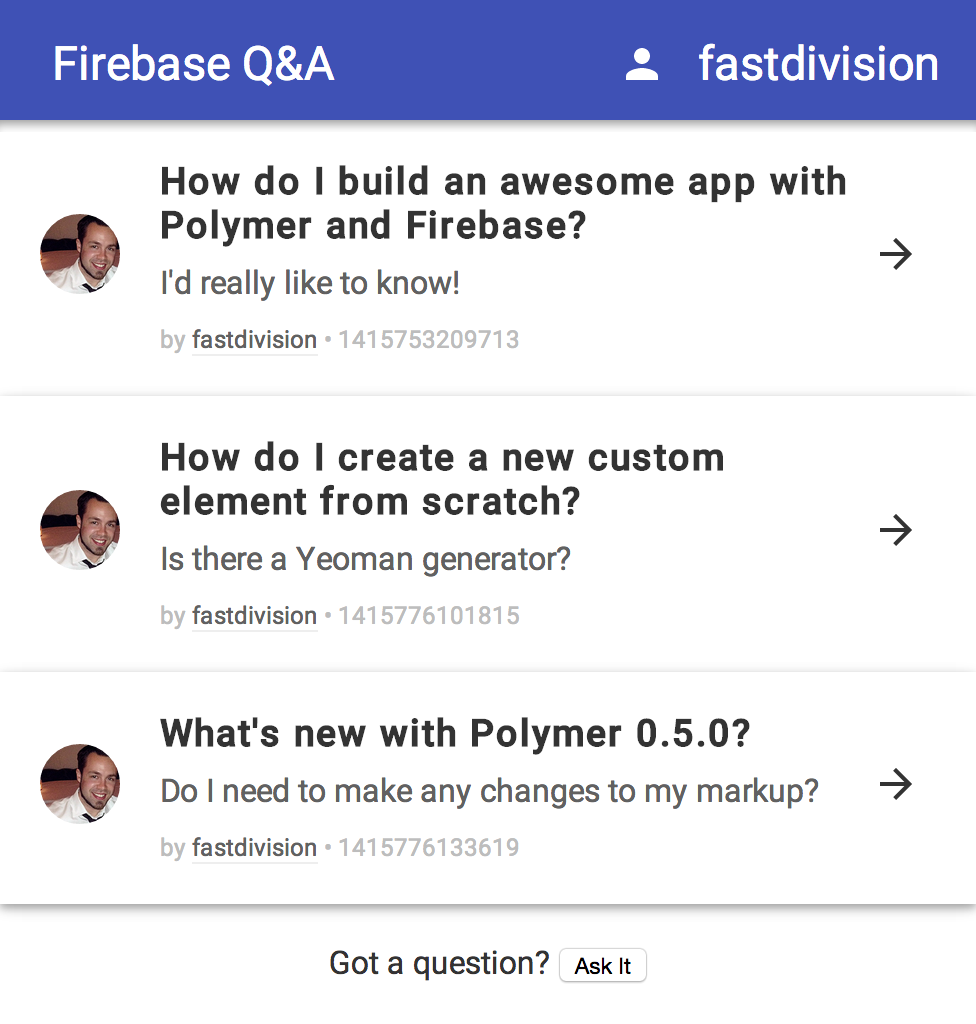
Our questions will be stored under the /questions key in Firebase. To display these questions, we need to use a template repeater:
<template repeat="{{id in keys}}">
<paper-shadow z="1">
<div class="question">
<div horizontal center layout>
<div class="user">
<img width="40" src="{{questions[id]['user']['avatar_url']}}">
</div>
<div class="details" flex>
<h3><a href="/#/questions/{{id}}">{{questions[id]['title']}}</a></h3>
<p>{{questions[id]['content']}}</p>
<span class="metadata">by <a href="{{questions[id]['user']['html_url']}}">{{questions[id]['user']['username']}}</a> • {{questions[id]['timestamp']}}</span>
</div>
<div class="view">
<paper-icon-button on-click="{{viewQuestion}}" question-id="{{id}}" icon="arrow-forward" title="View Question"></paper-icon-button>
</div>
</div>
</div>
</paper-shadow>
</template>
Let's add some additional styling inside the element <style> tag:
.question {
  padding: 20px;
  background: #fff;
}

.question h3 {
  margin: 0;
}

.question h3 a {
  color: #333;
  text-decoration: none;
}

.question h3 a:hover {
  color: #3F51B5;
}

.question .user {
  padding-right: 20px;
}

.question .user img {
  border-radius: 50%;
}

.question .details p {
  color: #616161;
  margin: 8px 0;
}

.question .metadata {
  font-size: 12px;
  color: #BDBDBD;
}

.question .metadata a {
  color: #616161;
  border-bottom: 1px solid #eee;
  text-decoration: none;
}
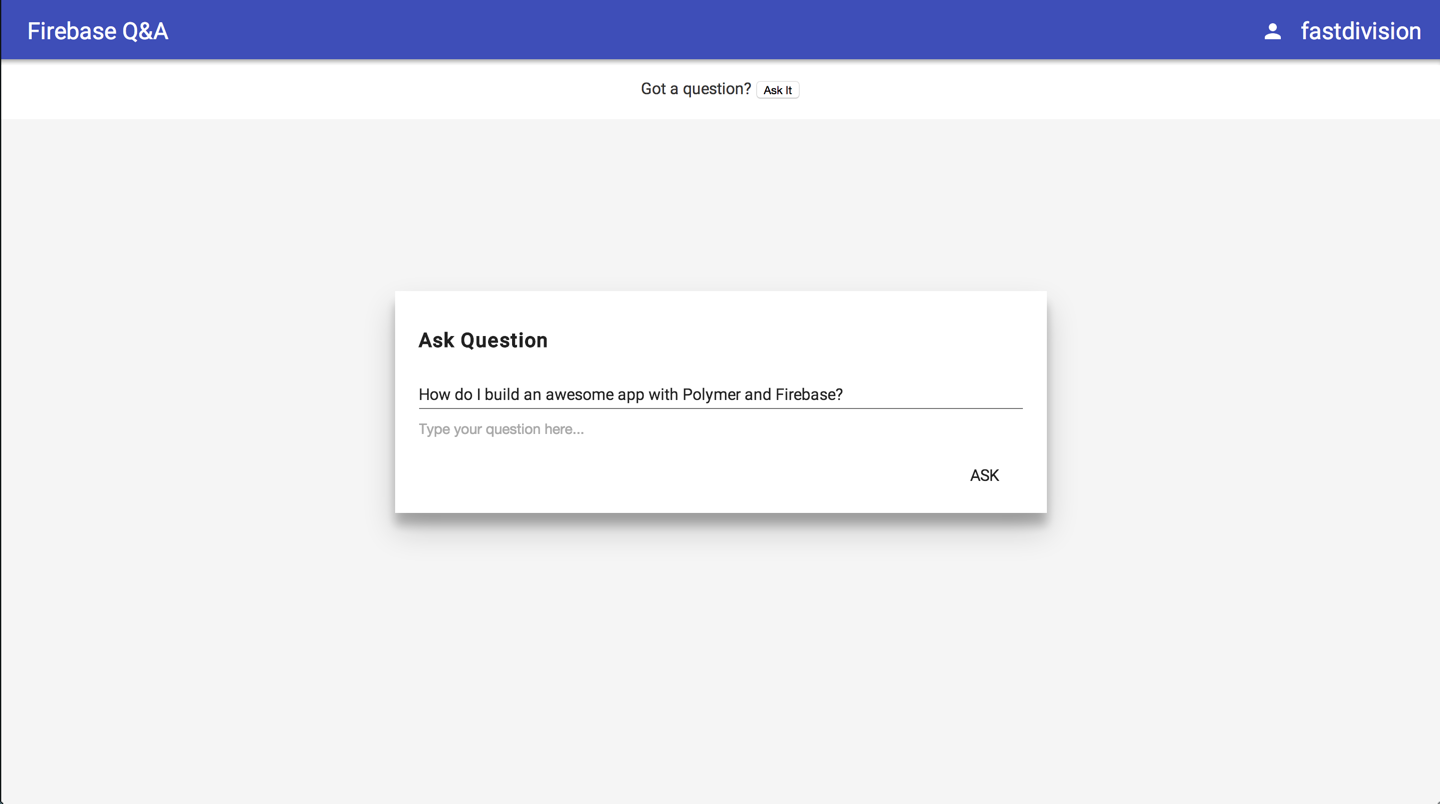
Now we’re going to create a simple question dialog so users can submit new questions. Import the following at the top of list.html:
<link rel="import" href="/bower_components/paper-dialog/paper-action-dialog.html">
<link rel="import" href="/bower_components/paper-button/paper-button.html">
<link rel="import" href="/bower_components/paper-input/paper-input.html">
<link rel="import" href="/bower_components/paper-input/paper-autogrow-textarea.html">
Add a button that opens a question dialog underneath the template repeater:
<div class="ask-question">
  Got a question?
  <button on-click="{{openDialog}}">
    Ask It

    <paper-action-dialog id="questionDialog" heading="Ask Question" transition="core-transition-bottom">
      <form>
        <paper-input id="title" label="Title"></paper-input>
        <paper-autogrow-textarea id="contentArea">
          <textarea id="content" placeholder="Type your question here..."></textarea>
        </paper-autogrow-textarea>
      </form>
      <paper-button affirmative autofocus on-click="{{submitQuestion}}">Ask</paper-button>
    </paper-action-dialog>
  </button>
</div>
Write some CSS to style the .ask-question <div> inside <style>:
.ask-question {
  padding: 20px;
  text-align: center;
}
For the on-click handlers, write the openDialog and submitQuestion methods in the element <script>:
openDialog: function() {
  this.$.questionDialog.toggle();
},
submitQuestion: function() {
  if (!this.$.title.value.length) {
    alert('Please write a title.');
    return;
  }

  if (!this.$.content.value.length) {
    alert('Please write a question.');
    return;
  }

  var question = this.$.base.push({
    title: this.$.title.value,
    content: this.$.content.value,
    user: {
      uid: this.globals.currentUser.uid,
      username: this.globals.currentUser.github.username,
      avatar_url: this.globals.currentUser.github.cachedUserProfile.avatar_url,
      html_url: this.globals.currentUser.github.cachedUserProfile.html_url
    },
    timestamp: new Date().getTime()
  });

  this.$.title.value = '';
  this.$.content.value = '';
}
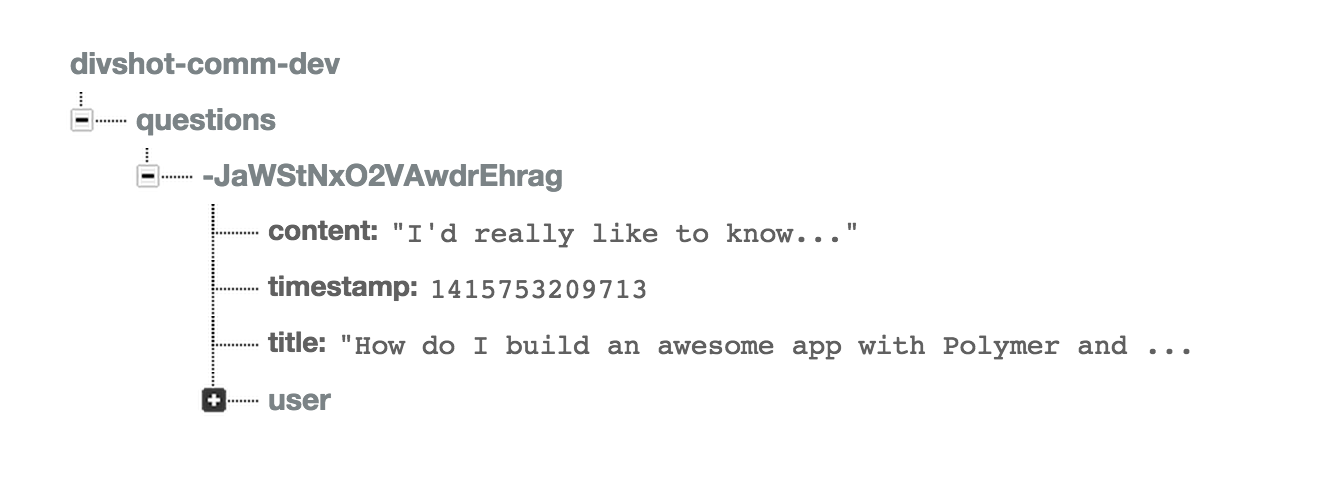
We use the push method on this.$.base (firebase-element) to add a new record with the associated JSON data and a generated ID to /questions. The user object is supplied using the global data.
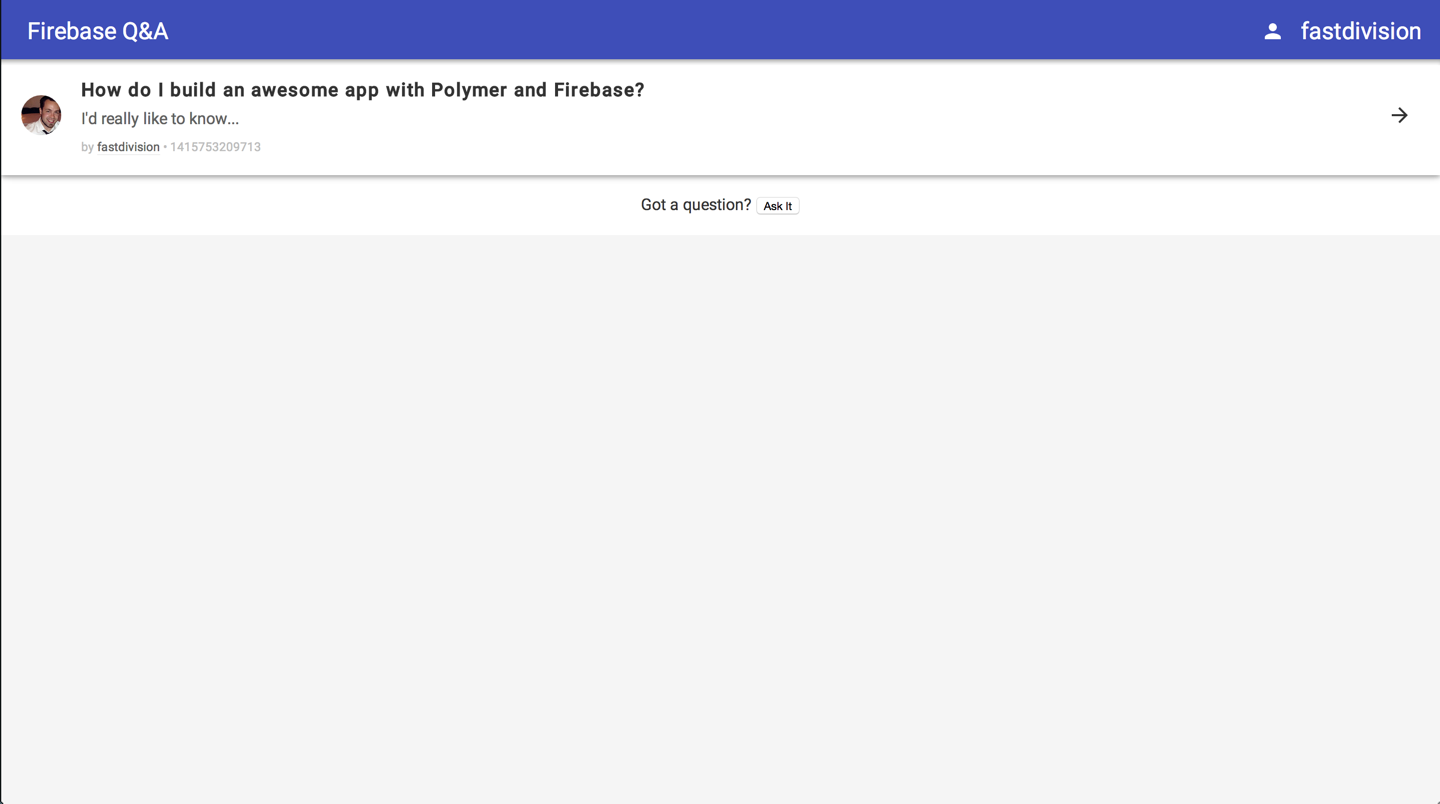
Visit your app in the browser and fill out the form. A new question should be added to the list. Open Firebase Forge and you’ll also notice the data successfully pushed:
At this point it’s a good idea to get started with Firebase’s security rules. Being proactive and testing permissions now instead of later could lead to less problems down the road. Create a security.json file in your root project directory:
{
  "rules": {
    "questions": {
      ".read": true,
      "$question_id": {
        ".write": "(!data.exists() && newData.exists() && auth != null) || (data.child('user/uid').val() == auth.uid)"
      }
    }
  }
}
In the .write rule, we’re checking for two things. First, only a logged in user can add new questions. newData exists but data doesn’t so we’re not updating an existing record. Second, a logged in user can edit their own questions. We check to make sure the user object uid equals the logged in user’s uid (auth.uid).
Anyone can read questions so .read is set to true.
Copy and paste the contents of your security.json file in Firebase Forge. It’s always smart to have a backup stored in your repository to track revisions.
Let's wrap up the question list by adding a method for the right arrow button:
viewQuestion: function(e) {
  var id = e.target.getAttribute('question-id');
  document.location.href = '/#/questions/' + id;
}
Viewing Questions
Now that we can browse questions, let’s set up the view for reading individual questions /elements/questions/view.html and pick up the pace:
<link rel="import" href="/bower_components/firebase-element/firebase-element.html">
<link rel="import" href="/bower_components/pvc-globals/pvc-globals.html">

<polymer-element name="qa-view">
  <template>
    <style>
      :host {
        display: block;
      }

      .question {
        padding: 40px 20px;
        border-bottom: 1px solid #f5f5f5;
      }

      .author {
        width: 120px;
        padding: 8px 40px 0 0;
        text-align: center;
      }

      .author a {
        color: #333;
        text-decoration: none;
      }

      .avatar {
        display: block;
        margin: 0 auto 10px auto;
        border-radius: 50%;
      }

      h1 {
        margin-top: 0;
      }

      .content {
        color: #616161;
        margin: 0 0 20px;
      }
    </style>
    <firebase-element id="base" location="https://<your-firebase>.firebaseio.com/questions/{{id}}" data="{{question}}"></firebase-element>
    <pvc-globals values="{{globals}}"></pvc-globals>

    <paper-shadow z="1">
      <div class="question" layout horizontal>
        <div class="author">
          <a href="{{question.user.html_url}}" target="_blank">
            <img class="avatar" src="{{question.user.avatar_url}}" width="40">
            <span class="username">{{question.user.username}}</span>
          </a>
        </div>
        <div flex>
          <h1 id="questionTitle" contenteditable?="{{editMode}}">{{question.title}}</h1>
          <div id="questionContent" class="content" contenteditable?="{{editMode}}">
            {{question.content}}
          </div>
        </div>
      </div>
    </paper-shadow>
  </template>
  <script>
    Polymer({
      editMode: false,
      keys: function(input) {
        if (input) return Object.keys(input);
      }
    });
  </script>
</polymer-element>
Again, we’re using firebase-element to load data. It’s perfectly fine to use multiple firebase-elements in your app. In fact, it’s encouraged.
We need data on a specific question so our Firebase location is /questions/{{id}}. The id is supplied from the app-router path variable.
Preview your app in the browser. You should now be able to browse and view questions. The next thing we’re going to tackle is answers.
Editing Questions
For the sake of simplicity in this article we’re going to take a barebones approach toward editing questions by toggling the contenteditable attribute. Add the following HTML below #questionContent for editing and deleting questions:
<div hidden?="{{!editMode}}">
  <button on-click="{{saveQuestion}}">Save Question</button> or <a on-click="{{cancelEditing}}">Cancel</a>
</div>

<button on-click="{{editQuestion}}" hidden?="{{question.user.username != globals.currentUser.github.username}}">Edit Question</button>
<button on-click="{{deleteQuestion}}" hidden?="{{question.user.username != globals.currentUser.github.username}}">Delete Question</button>
The hidden?= attribute is used to hide these buttons if the logged in user didn’t write the question. If a user attempts to show these buttons and try to save the question, our Firebase security rule will prevent them from doing so.
For the on-click handlers we’ll set up some code to toggle a variable called editMode and perform the necessary operations in Firebase:
editQuestion: function() {
  this.editMode = true;
},
cancelEditing: function() {
  this.editMode = false;
},
saveQuestion: function() {
  this.question.title = this.$.questionTitle.innerText;
  this.question.content = this.$.questionContent.innerHTML;
  this.editMode = false;
},
deleteQuestion: function() {
  var confirmDeletion = confirm('Are you sure you want to delete this question?');
  if (confirmDeletion) {
    document.location.href = '/#/questions';
    this.$.base.remove('/');
  }
}
When editMode is true, contenteditable will be active on the question content. The user can save the question or cancel.
We set title and content of this.question to update the existing question. firebase-element watches for changes to the variable assigned to the data attribute (in this case {{question}}). When a change occurs, the record is automatically synced to Firebase.
For deleting questions, we simply use the remove method on this.$.base.
Answers
Listing answers is similar to using a template repeater for questions, but this time around we’re going to create a separate element to display each answer. It makes view.html less cluttered and allows us to encapsulate answer-specific functionality.
Start with using a template repeater and prototyping a <qa-answer> tag in view.html like so:
<template repeat="{{key in keys(question.answers)}}">
  <qa-answer id="{{key}}" questionId="{{id}}"></qa-answer>
</template>
The following attributes are provided for the element itself to get data from qa-view:
- id: Answer ID for Firebase location.
- questionId: Question ID for Firebase location.
If you look closely we’re using keys() to iterate through an object. At the moment, Polymer only allows you to iterate through an array using a template repeater.
Next we need to set up the qa-answer element. Create a new file inside /elements/questions named answer.html:
<link rel="import" href="/bower_components/firebase-element/firebase-element.html">
<link rel="import" href="/bower_components/pvc-globals/pvc-globals.html">

<polymer-element name="qa-answer" attributes="id questionId">
  <template>
    <style>
      :host {
        display: block;
      }

      .answer {
        padding: 40px 20px;
      }

      .author {
        width: 120px;
        font-size: 12px;
        padding: 8px 40px 0 0;
        text-align: center;
      }

      .author a {
        color: #333;
        text-decoration: none;
      }

      .avatar {
        display: block;
        margin: 0 auto 10px auto;
        border-radius: 50%;
      }

      .content {
        color: #616161;
        margin: 0 0 20px;
      }
    </style>
    <firebase-element id="base" location="https://<your-firebase>.firebaseio.com/questions/{{questionId}}/answers/{{id}}" data="{{answer}}"></firebase-element>
    <pvc-globals values="{{globals}}"></pvc-globals>

    <div class="answer" layout horizontal>
      <div class="author">
        <a href="{{answer.user.html_url}}" target="_blank">
          <img class="avatar" src="{{answer.user.avatar_url}}" width="32">
          <span class="username">{{answer.user.username}}</span>
        </a>
      </div>
      <div flex>
        <p id="answerContent" class="content" contenteditable?="{{editMode}}">{{answer.content}}</p>

        <div hidden?="{{!editMode}}">
          <button on-click="{{save}}">Save Answer</button> or <a on-click="{{cancel}}">Cancel</a>
        </div>

        <button on-click="{{edit}}" hidden?="{{answer.user.username != globals.currentUser.github.username}}">Edit Answer</button>
        <button on-click="{{delete}}" hidden?="{{answer.user.username != globals.currentUser.github.username}}">Delete Answer</button>
      </div>
    </div>
  </template>
  <script>
    Polymer({
      editMode: false,
      edit: function() {
        this.editMode = true;
      },
      cancel: function() {
        this.editMode = false;
      },
      save: function() {
        this.answer.content = this.$.answerContent.innerHTML;
        this.editMode = false;
      },
      delete: function() {
        var confirmDeletion = confirm('Are you sure you want to delete this answer?');
        if (confirmDeletion) {
          this.$.base.remove('/');
        }
      }
    });
  </script>
</polymer-element>
Import answer.html into view.html:
<link rel="import" href="/elements/questions/answer.html">
We use the id and questionId attributes to load a specific answer from Firebase. Once loaded, it’s assigned to this.answer.
Again, we can add similar editing and deleting functionality to answers. At this point you could abstract editing even further by creating a new element and refactoring some code, but for now we’ll write HTML to handle it for both questions and answers.
Posting Answers
Return back to /elements/questions/view.html. Add a new element called qa-answer-form and hide if the user isn’t logged in:
<div hidden?="{{!globals.currentUser}}">
  <qa-answer-form questionId="{{id}}"></qa-answer-form>
</div>
Create a new file inside /elements/questions named answer-form.html:
<link rel="import" href="/bower_components/firebase-element/firebase-element.html">
<link rel="import" href="/bower_components/pvc-globals/pvc-globals.html">
<link rel="import" href="/bower_components/paper-input/paper-autogrow-textarea.html">

<polymer-element name="qa-answer-form" attributes="questionId">
  <template>
    <style>
      :host {
        display: block;
        border-top: 1px solid #f5f5f5;
        padding: 40px;
      }

      paper-autogrow-textarea {
        display: block;
        margin: 0 0 10px;
      }

      paper-autogrow-textarea textarea {
        font-size: 14px;
      }
    </style>
    <firebase-element id="base" location="https://<your-firebase>.firebaseio.com/questions/{{questionId}}/answers" data="{{answers}}"></firebase-element>
    <pvc-globals values="{{globals}}"></pvc-globals>

    <paper-autogrow-textarea id="answerArea">
      <textarea id="answer" placeholder="Type your answer here..."></textarea>
    </paper-autogrow-textarea>

    <button on-click="{{submit}}">Submit Answer</button>
  </template>
  <script>
    Polymer({
      submit: function() {
        if (this.$.answer.value.length) {
          var answer = this.$.base.push({
            content: this.$.answer.value,
            user: {
              uid: this.globals.currentUser.uid,
              username: this.globals.currentUser.github.username,
              avatar_url: this.globals.currentUser.github.cachedUserProfile.avatar_url,
              html_url: this.globals.currentUser.github.cachedUserProfile.html_url
            },
            timestamp: new Date().getTime()
          });

          this.$.answer.value = '';
        } else {
          console.error('Please write an answer.');
        }
      }
    });
  </script>
</polymer-element>
Import answer-form.html into view.html:
<link rel="import" href="/elements/questions/answer-form.html">
The Firebase location is set to /questions/{{questionId}}/answers so we can push to the answers collection inside a specific question. It’s similar to posting a new question.
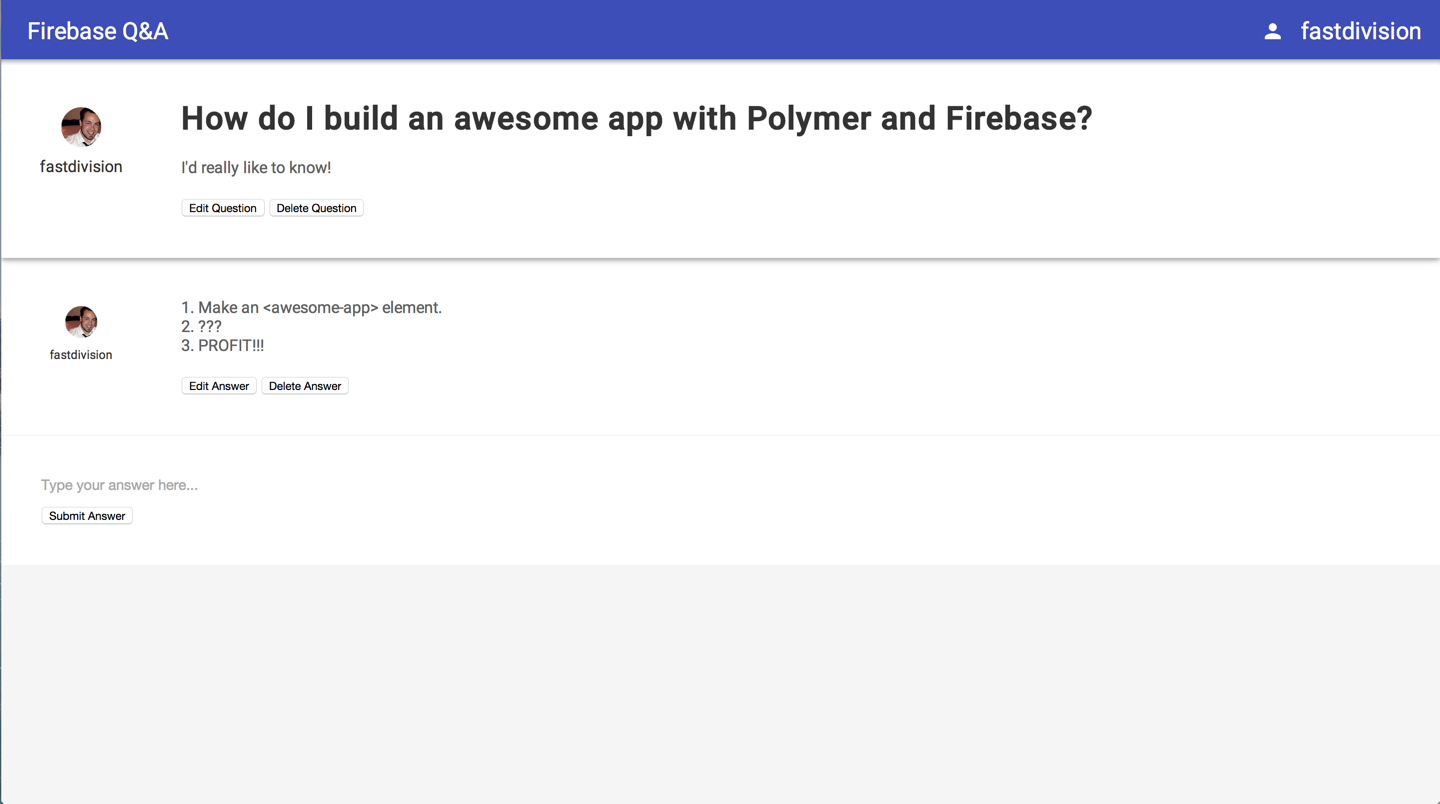
You should now be able to see an answer form in the question view:
Now that the user can post answers, we need to set up a security rule in Firebase. Edit security.json and update your rules in Firebase Forge:
{
  "rules": {
    "questions": {
      ".read": true,
      "$question_id": {
        ".write": "(!data.exists() && newData.exists() && auth != null) || (data.child('user/uid').val() == auth.uid)",
        "answers": {
          "$answer_id": {
            ".write": "(!data.exists() && newData.exists() && auth != null) || (data.child('user/uid').val() == auth.uid)"
          }
        }
      }
    }
  }
}
End of Part 1
In my next article we’ll add more functionality to the app such as user comments, upvoting, and sorting records via priority. I hope you enjoyed learning more about Polymer with Firebase and decide to make the leap with your very own projects. As always, let me know if there’s anything else you’d like me to cover in the comments. Keep on coding and remember... web components are the <bees-knees>!
