Using Divshot to Host Landing Pages
You've got a new client project to create a landing page for a new product of theirs. You've heard about Divshot and want to use it for this new project. Now what?
Getting set up
Divshot is an excellent choice for creating landing pages, single page apps (including AngularJS, Ember.js, and Backbone.js), Jekyll blogs, and more. Its static web hosting is on a CDN, so it's fast no matter where your clients are located.
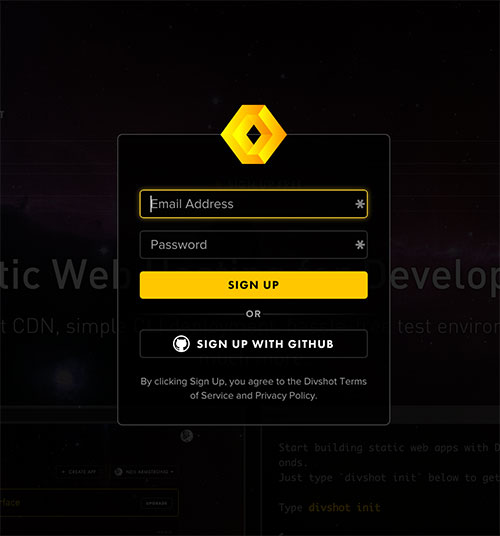
To use Divshot, first you need to sign up with either an email address or using your existing Github account.
Once you've done that, we need to install the command line interface (CLI)*. On your Windows computer, pull up a Command window, or the Terminal window on your Mac, and run this command:
npm install -g divshot-cli
**NOTE:* You'll need NodeJS installed on your computer to be able to install the Divshot CLI. You may also need to use sudo when installing on your Mac.
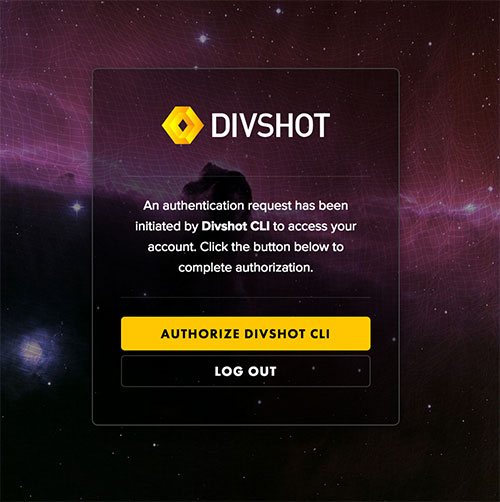
Lastly, you'll need to run one more command. A new browser window will open asking you to authorize your account with the Divshot CLI on your computer.
divshot login
Once you click authorize, the CLI will recognize that and show you that you've successfully authenticated with your account and provide you with the Getting Started URL.

Building the Page
A lot of developers these days use tools like Bower, Grunt, and Gulp. Although we won't be using these tools in this example, as it's slightly off-topic when discussing the hosting part of a project, I did want to mention that Divshot plays nicely with these tools and the configuration files that each of the tools creates.
Divshot even has its own built-in web server that you can start with this simple command:
divshot server
You can specify the port you want or let Divshot tell you which port it decided to use.
Show your boss
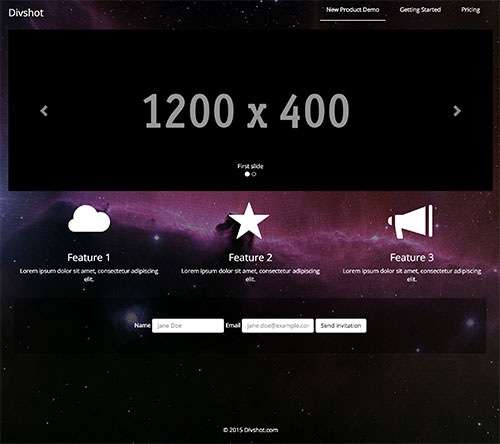
You end up building something like for the client.
Now you're ready to show your boss and the rest of the Technology team what you've got. Let's create an app. With the Terminal in your working directory, type:
divshot init
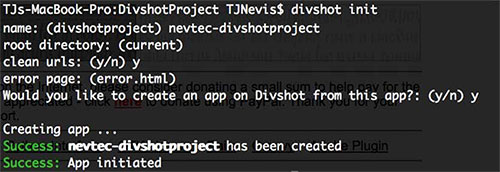
The Divshot CLI creates a configuration file automatically for you once you've answered the questions that come up.
Now it's as simple as:
divshot push
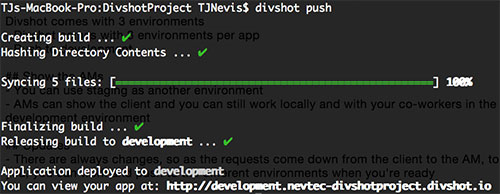
If you don't specify an environment, Divshot defaults to development. You'll be presented with you URL, in this case: http://development.nevtec-divshotproject.divshot.io.
Show the AMs
Divshot comes with 3 environments per app (development, staging, and production). When you're ready to show the project to others in your company, such as the Account Manager of the client, you can push to a staging environment. This is extremely useful, because you can still work with the other team members on the tech team to show them changes that aren't ready for the Account Manager to see, and the Account Manager can show this staging environment to the client to get feedback. It's as simple as:
divshot push staging
You're provided with another URL, http://staging.nevtec-divshotproject.divshot.io, in this case.
Updates
There are always changes before the final release of any project. You can continue to push to the development and staging environments until you're ready to launch.
Ready to launch
You can even use Divshot as a host for your production static site when you're ready to launch.
divshot push production
You'll be presented with your production URL, http://nevtec-divshotproject.divshot.io in this case. You can setup a DNS CNAME to mask the URL to your domain or with any of the paid accounts, you can more easily use custom domains. The paid accounts of Divshot offer much more, such as the ability to create more apps, more bandwidth, unlimited storage on their global CDN, SSL, and more.
Give Divshot a try on your next project. You'll be amazed at how simple it is to manage multiple environments.
 Divshot has joined Firebase!